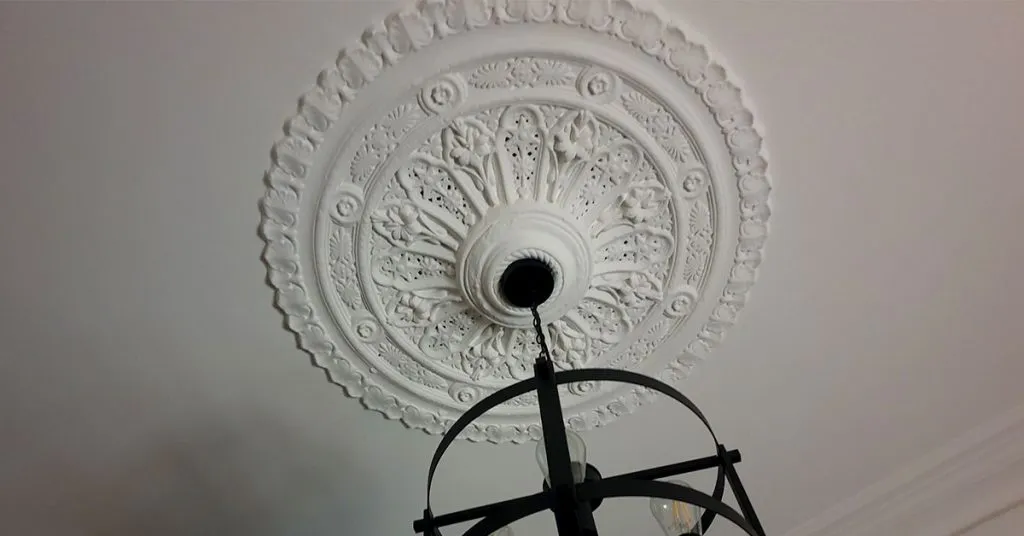
Installing a ceiling rose adds instant character, but the final look comes down to prep and finishing. If you are choosing ceiling roses Melbourne homeowners use for both period and modern spaces, a simple plan will help the rose sit flat and paint in cleanly.
Use the steps below as a quick pre install checklist.
Choose the right size and check the ceiling
Proportion matters. Larger rooms and higher ceilings can handle a wider rose, while small rooms usually look better with a modest profile. It also helps to consider the light fitting. A statement pendant or chandelier often looks best with a slightly larger rose that frames the canopy.
Then check the surface you are fixing to. Flaking paint, dusty plaster, or a glossy finish can weaken the bond and leave a visible edge later.
Get set up with the basics
Have a ladder, drop sheet, tape measure, pencil, the recommended adhesive, filler, sandpaper, primer, and matching ceiling paint ready. Keep a small bucket of water and a cloth nearby for fast cleanup. For heavy roses, confirm whether screws and plugs are advised as extra support.
Mark the centre and dry fit
Most roses sit around the light point. Turn off power at the switchboard before you touch any fitting, and get an electrician if you are unsure.
Dry fit the rose and confirm:
- The centre hole aligns with wiring and the light canopy
- The pattern is oriented correctly
- The rose sits flat without rocking
If the ceiling is slightly uneven, you can still proceed, but expect to do more filling at the edge.
Prep the surface so adhesive grips
Clean the area where the rose will sit and remove loose paint. Lightly scuff glossy paint. If the ceiling is powdery, seal it with an appropriate primer and let it dry fully. This step is what prevents a “shadow line” around the rose after painting.
Fix the rose in place
Follow the adhesive instructions for working and cure times. Apply a continuous bead around the contact ring, plus a few dabs inside the circle for full contact. Press the rose into position, align it to your centre mark, and give it a gentle twist to spread the adhesive. Wipe squeeze out with a damp cloth before it sets.
For larger roses, use painter’s tape or a light prop while it cures. If you use screws, countersink gently so you can fill over the heads. When in doubt, let the adhesive cure fully before you start heavy sanding or reinstall the light fitting.
Fill and sand until the join disappears
Once secure, fill the seam where the rose meets the ceiling. Work in thin layers and feather the filler outward. Let it dry, sand lightly, then run your hand over the join. If you feel a ridge, skim again and sand.
Keep filler out of decorative grooves. A soft brush or cotton bud can clean detail before the filler hardens.
Prime and paint for an even finish
Prime the filled seam and any bare areas to avoid patchiness. Then paint the rose and blend into the surrounding ceiling, matching the existing sheen, usually flat or matte. A small brush helps around details, and a roller nearby can match ceiling texture if needed.
Mistakes that make edges obvious
Most problems come from skipping basics:
- No dry fit, so the canopy sits awkwardly
- Adhesive applied in spots instead of a continuous bead
- Painting without priming over filler
Final check
After paint dries, inspect in daylight and with the room light on. Side lighting can reveal small imperfections. A quick touch up is normal and easier before the room is fully set up.
With careful alignment, solid prep, and patient finishing, your ceiling rose can look crisp, seamless, and professionally installed.