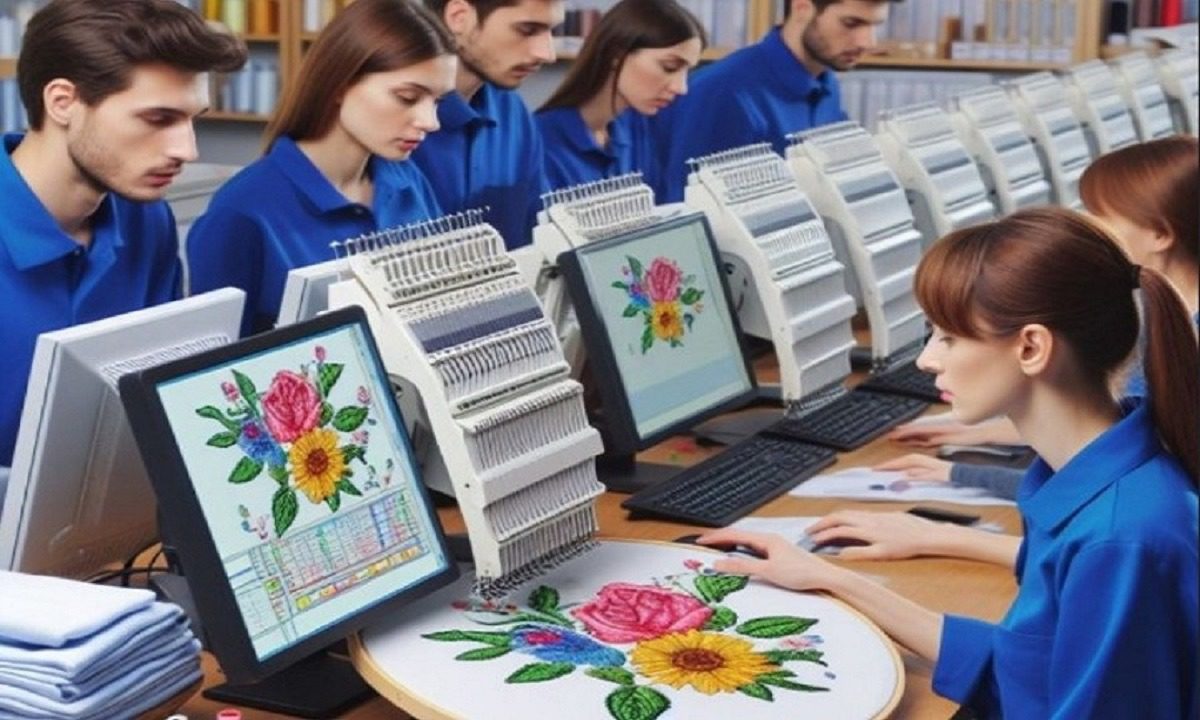
Digitizing For Embroidery is the process that turns artwork into stitch files that embroidery machines can read. If this step is done right, the design looks clean and strong on fabric. If it is done wrong, even a great logo can look messy. This is why learning the correct steps matters for anyone working with embroidery.
Many beginners feel lost at first. Stitches break. Shapes look uneven. Text becomes hard to read. With the right steps and a little practice, digitizing becomes simple and predictable.
What Is Digitizing for Embroidery?
Digitizing for embroidery is not just file conversion. It is a planning process. You decide how the machine will stitch the design.
This includes:
- Stitch type
- Stitch direction
- Stitch order
- Stitch density
Each choice affects the final look.
Why Design Quality Depends on Digitizing
Good artwork alone is not enough. Embroidery uses thread, not ink. Threads behave differently on fabric.
Good digitizing:
- Keeps shapes clean
- Stops thread breaks
- Improves fabric hold
- Makes designs last longer
Poor digitizing ruins good art.
Step 1: Start with Clean Artwork
Every good design starts with clean artwork.
Use High-Quality Images
Blurry images cause poor stitches.
Simplify the Design
Too many details are hard to stitch.
Check Size Early
Small designs need fewer details.
Clean art saves time later.
Step 2: Choose the Right Digitizing Software
Software is your main tool.
Good software should:
- Support manual stitch control
- Show stitch preview
- Allow stitch edits
Simple software works for beginners. Advanced tools help pros.
Step 3: Select Proper Stitch Types
Different areas need different stitches.
Satin Stitches
Used for borders and text.
Fill Stitches
Used for large shapes.
Running Stitches
Used for thin lines.
Choosing the right stitch improves strength.
Step 4: Set Correct Stitch Direction
Stitch direction affects shine and texture.
Wrong direction causes:
- Gaps
- Pulling
- Poor finish
Proper direction makes designs smooth and balanced.
Step 5: Adjust Stitch Density
Density controls how tight stitches are.
Too High Density
- Stiff fabric
- Thread breaks
Too Low Density
- Gaps
- Weak coverage
Balance is key for quality.
Step 6: Add Underlay Stitches
Underlay stitches sit below top stitches.
They help by:
- Holding fabric steady
- Reducing puckering
- Improving top stitch look
Skipping underlay causes loose designs.
Step 7: Plan Stitch Order Carefully
Stitch order controls how the machine moves.
Good order:
- Reduces jumps
- Cuts less thread
- Saves time
Smart planning improves machine flow.
Step 8: Choose the Right Fabric Settings
Each fabric acts differently.
Cotton
Easy to stitch. Standard settings work.
Caps
Need special angles and settings.
Stretch Fabric
Needs extra care and underlayment.
Matching settings to fabric improves results.
Step 9: Test the Design Before Production
Testing is not optional.
Test stitching helps you:
- See real results
- Fix errors early
- Adjust density and pull
One test saves many mistakes.
Common Digitizing Mistakes to Avoid
Even skilled users make mistakes.
Using Auto Digitizing Only
Auto tools lack control.
Ignoring Fabric Type
One setting does not fit all.
Skipping Test Stitch
Leads to costly errors.
Avoid these to keep quality high.
How Digitizing Improves Design Durability
Good digitizing makes designs last.
It helps:
- Stitches hold after wash
- Colors stay clear
- Fabric stays strong
This keeps customers happy.
Digitizing For Logos vs Artwork
Logos and artwork need different care.
Logos
- Clean edges
- Clear text
- Simple shapes
Artwork
- More shading
- Careful stitch flow
- Balanced density
Understanding this improves quality.
Why Manual Digitizing Is Better for Quality
Manual digitizing gives control.
It lets you:
- Fix small details
- Adjust stitch flow
- Improve texture
Auto tools are fast but limited.
How Practice Improves Digitizing Skills
Digitizing is a skill. Skills grow with practice.
Start simple:
- Basic logos
- Few colors
- Clear shapes
Then move to complex designs.
When to Use Professional Digitizing Services
Some designs need expert care.
Use professionals for:
- Small text
- Detailed logos
- Large orders
Experts save time and reduce risk.
Real Experience from Embroidery Work
From hands-on embroidery work, one thing is clear. Clean digitizing makes machines run smoothly. Poor digitizing causes stress and waste. Quality comes from planning, not guessing.
Experience teaches that time spent on digitizing saves time in production.
Benefits of High-Quality Digitizing
Good digitizing gives:
- Clean stitches
- Faster runs
- Less thread waste
- Better customer trust
Quality always pays back.
Final Thoughts
Digitizing for embroidery is the foundation of great stitch work. Each step matters. From artwork to testing, every choice affects the final result. When done right, designs look sharp and last long.
If you want reliable, clean, and production-ready embroidery files without stress, many creators and businesses rely on Digitizing Buddy to deliver quality digitizing that brings designs to life on fabric.