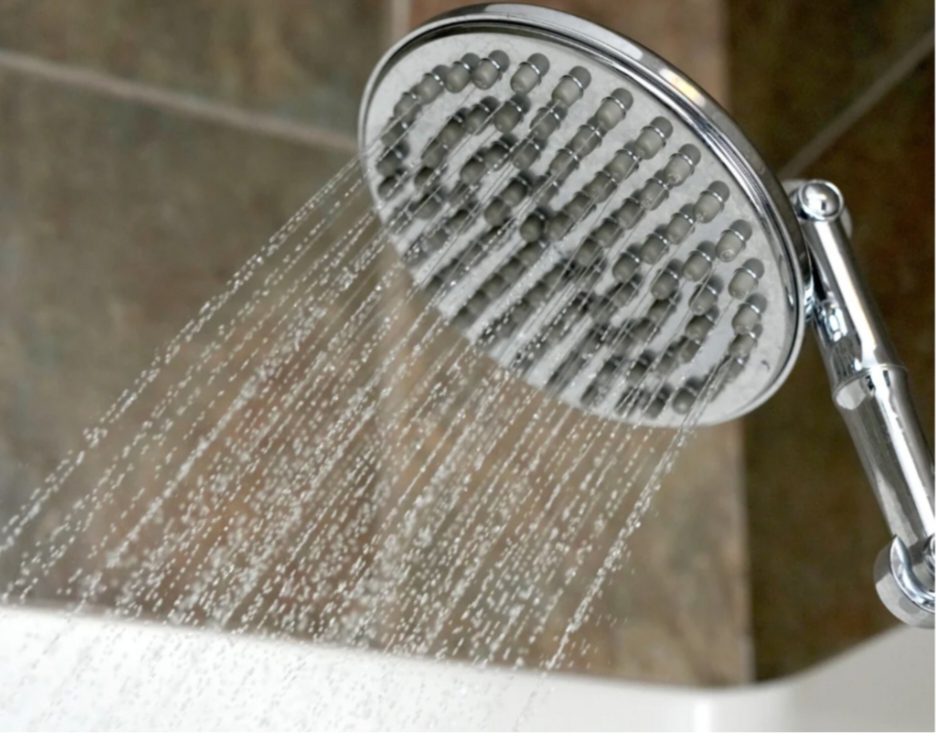
Low water pressure in the shower can quickly become frustrating, especially when it interrupts your daily routine. In many homes, the issue is caused by mineral buildup inside the shower head rather than a major plumbing problem. Following proper how to clean shower head instructions can help restore strong water flow and improve shower performance without expensive repairs.
Regular shower head maintenance not only improves water pressure but also helps maintain hygiene and extends the life of your bathroom fixtures. By using the correct cleaning methods, homeowners can safely remove buildup and prevent future blockages.
Why Shower Heads Lose Water Pressure Over Time
Shower heads are constantly exposed to minerals found in water, including calcium and magnesium. Over time, these minerals collect inside the nozzles and internal components, restricting water flow.
This problem is especially common in areas with hard water. As mineral deposits increase, you may notice:
- Weak water pressure
- Uneven spray patterns
- Water spraying in different directions
- Slow water flow
Because the buildup develops gradually, many homeowners ignore the issue until the shower pressure becomes noticeably poor.
Regular cleaning helps prevent complete blockages and keeps your shower functioning efficiently.
Signs Your Shower Head Needs Cleaning
Recognising the early warning signs can help you avoid larger plumbing issues later.
Common Signs Include:
- Reduced or inconsistent water pressure
- Uneven water spray
- White or chalky residue on the nozzles
- Strange noises during water flow
- Slow water output
If you notice any of these problems, cleaning your shower head can usually restore normal performance quickly.
Tools and Materials Required
Cleaning a shower head is simple and affordable because most tools are already available at home.
You Will Need:
- White vinegar
- Plastic bag or bowl
- Rubber band or zip tie
- Old toothbrush
- Soft cleaning cloth
- Warm water
White vinegar works effectively because it dissolves mineral buildup naturally without damaging most shower head finishes.
Step-by-Step Guide to Cleaning Your Shower Head
There are two common methods for cleaning a shower head depending on the level of buildup.
Method 1: Cleaning Without Removing the Shower Head
This method is ideal for light mineral buildup.
Steps:
- Fill a plastic bag with white vinegar.
- Place the bag around the shower head.
- Secure it tightly with a rubber band or zip tie.
- Ensure the nozzles are fully submerged.
- Leave it soaking for several hours or overnight.
- Remove the bag and scrub gently with a toothbrush.
- Run warm water through the shower head to flush debris.
This process helps dissolve calcium deposits and improve water flow naturally.
Method 2: Deep Cleaning by Removing the Shower Head
For severe buildup, removing the shower head provides a deeper clean.
Steps:
- Unscrew the shower head carefully.
- Place it in a container filled with white vinegar.
- Allow it to soak overnight.
- Use a toothbrush to clean the nozzles and inner parts.
- Rinse thoroughly with clean water.
- Reattach the shower head securely.
- Turn on hot water to flush remaining debris.
This method restores proper water pressure and removes stubborn mineral deposits effectively.
How Cleaning Improves Water Pressure
Once mineral buildup is removed, water can flow freely through the nozzles again. Most homeowners notice immediate improvements in:
- Water pressure
- Spray consistency
- Shower performance
- Water efficiency
To maximise results, make sure all nozzles are completely clear before reinstalling the fixture.
If water pressure remains low after cleaning, the issue could involve:
- Pipe blockages
- Hidden leaks
- Faulty plumbing components
- Water supply problems
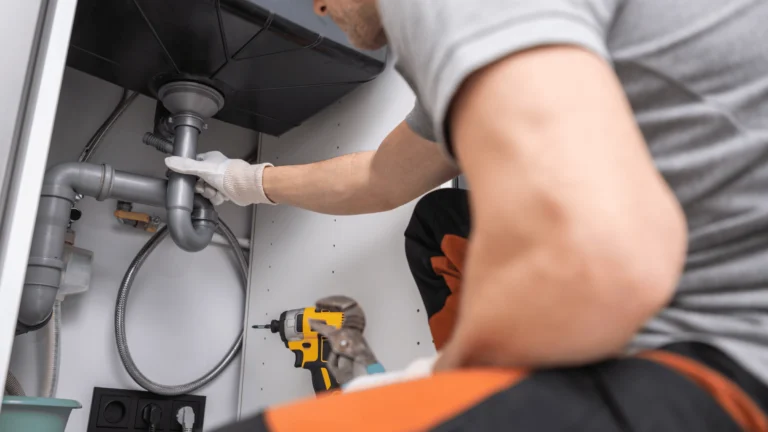
In these situations, contacting a professional plumber may be necessary.
Tips to Prevent Future Mineral Buildup
Preventative maintenance keeps your shower head working efficiently for longer.
Helpful Prevention Tips:
- Clean the shower head every 2–3 months
- Wipe the fixture dry after use
- Use a water softener in hard water areas
- Install a water filtration system
- Inspect nozzles regularly for residue buildup
Routine maintenance reduces the risk of clogs and extends the lifespan of your bathroom fixtures.
When You Should Call a Professional Plumber
Although shower head cleaning is usually straightforward, some problems require professional attention.
Call a Plumber If:
- Water pressure remains low after cleaning
- The shower head is corroded or damaged
- There are leaks in the fixture or pipes
- Multiple fixtures in the home have low pressure
- You suspect plumbing system blockages
Professional plumbers can identify deeper plumbing issues and recommend long-term solutions.
Conclusion
Learning how to clean your shower head is one of the easiest ways to improve water pressure and maintain your plumbing system. Regular cleaning removes mineral buildup, restores proper water flow, and improves overall bathroom hygiene.
By following these simple maintenance steps, homeowners can extend the life of their shower fixtures and prevent future plumbing problems. A clean shower head ensures better performance, stronger water pressure, and a more comfortable shower experience.
Heading Structure Optimization
- Step-by-Step Guide on How to Clean Your Shower Head and Improve Water Pressure
- Why Shower Heads Lose Water Pressure Over Time
- Signs Your Shower Head Needs Cleaning
- Tools and Materials Required
- Step-by-Step Guide to Cleaning Your Shower Head
- How Cleaning Improves Water Pressure
- Tips to Prevent Future Mineral Buildup
- When You Should Call a Professional Plumber
- Conclusion
- Common Signs Include
- You Will Need
- Method 1: Cleaning Without Removing the Shower Head
- Method 2: Deep Cleaning by Removing the Shower Head
- Helpful Prevention Tips
- Call a Plumber If